A good computer is essential for tech professionals and hobbyists alike, and in a world where performance, customization, and value matter, building your own PC is one of the smartest tech moves you can make. It’s a rewarding experience for gamers seeking high frame rates, content creators needing power, or anyone wanting to deepen their understanding of computers.
Why Build Instead of Buy?
Building your own PC will provide you with:
- Customization: Customize your build with the exact components you need, and include enthusiast-grade parts that aren’t typically available in pre-built PCs or laptops.
- Value: Maximize your budget and get superior performance. Building a PC offers better value than a pre-built system.
- Upgradability: Maintain and upgrade your PC easily, extending its lifespan.
- Learning: By understanding how each component works together, you’ll gain valuable insight into the technology that powers your system and be better equipped to troubleshoot or upgrade in the future.
Now let’s walk through the process.
Step 1: Define Your Purpose and Budget
Building a good PC requires investment, so defining a budget based on your needs is crucial. Consider your primary use: gaming, streaming, video editing, or everyday tasks? Your answer will guide your budget and component selection.
Example budgets:
- Entry-level (Web/Office/Gaming at 1080p): $650–$1040
- Mid-range (Gaming/Creative work): $1170–$1690
- High-end (4K Gaming/Workstation): $1950+
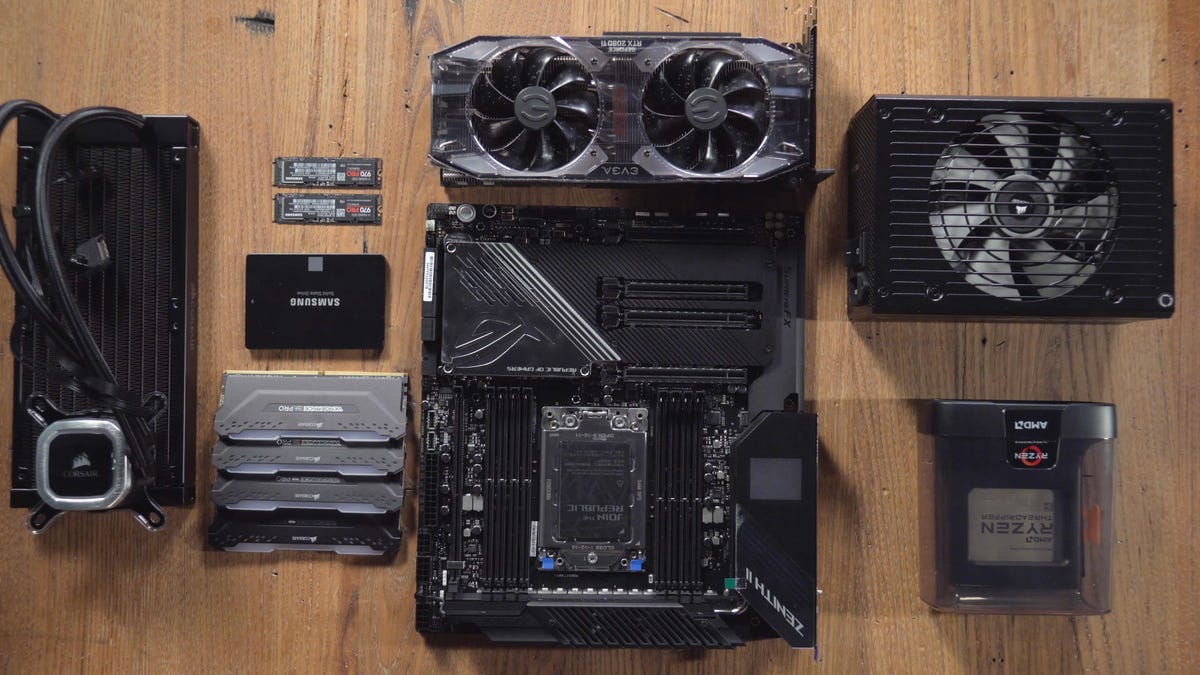
Step 2: Choose Your Parts
PCPartPicker (https://ca.pcpartpicker.com) is a great resource for building a PC. Here are the key components you’ll need to get started:
- CPU (Processor) – The brain of your PC. Choose AMD or Intel based on performance and price.
- Motherboard – The central hub. Make sure it’s compatible with your CPU.
- RAM (Memory) – 16GB is the sweet spot for most builds.
- GPU (Graphics Card) – Critical for gaming and design work. NVIDIA and AMD are the top players.
- Storage – SSDs offer speed; HDDs offer capacity. NVMe drives are fastest.
- Power Supply (PSU) – Get a reliable one with 80+ Bronze certification or better.
- Case – Size, airflow, and aesthetics matter.
- Cooling – Stock coolers are fine for most, but aftermarket options help with overclocking.
- Operating System – Windows, Linux, or both.
Optional:
- Wi-Fi card (if motherboard lacks Wi-Fi)
- Additional case fans or RGB lighting
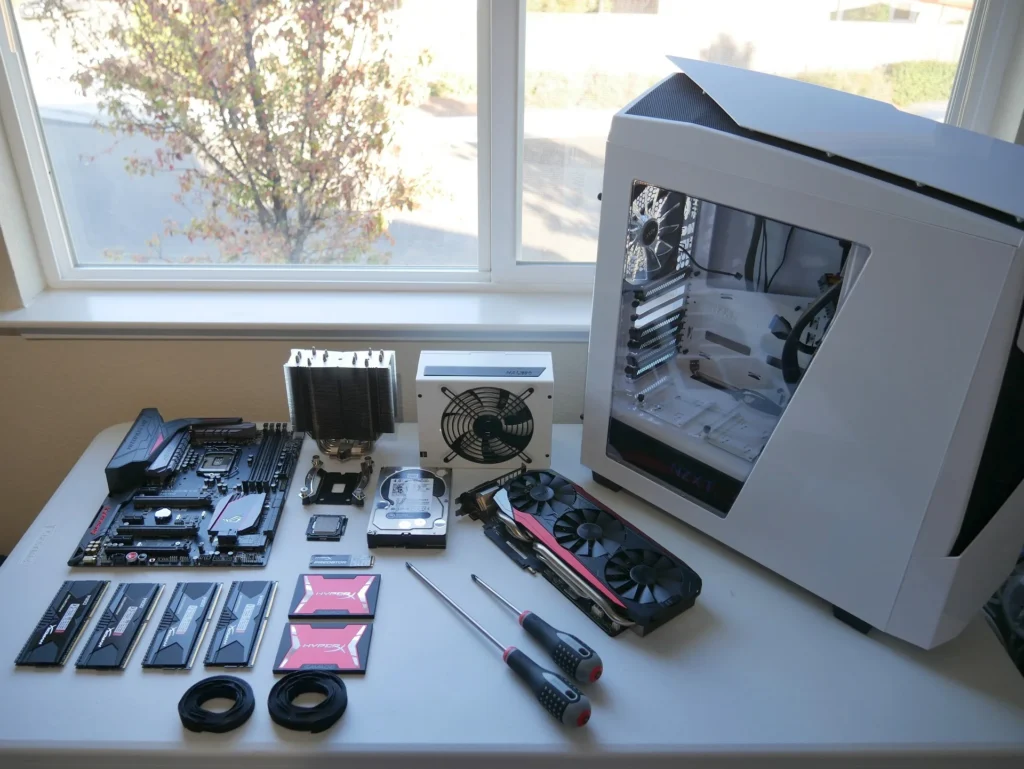
Step 3: Assemble Your PC
- Prep Your Workspace – Clean, static-free, and well-lit.
- Install CPU and RAM on Motherboard
- Install CPU Cooler
- Place Motherboard in the Case
- Install Power Supply
- Install GPU
- Connect Storage Drives
- Wire Everything Up – Power, data, fans.
- Double Check Connections
Step 4: First Boot and BIOS
- Plug in and power on.
- Enter BIOS (usually by pressing DEL or F2) and check if all hardware is recognized.
- Set boot priority to your installation media (USB).
Step 5: Install the Operating System
- Download Windows/Linux to a USB drive.
- Boot from the USB and follow installation prompts.
Step 6: Install Drivers and Updates
- Install motherboard and GPU drivers from their websites.
- Run Windows Update or Linux package updates.
Step 7: Enjoy and Maintain
- Install your favorite software.
- Keep drivers and BIOS updated.
- Clean your PC every few months to prevent dust buildup.
Final Thoughts
Building your own PC might seem daunting, but with patience and a bit of research, it is a fun and educational project. Moreover, nothing beats the satisfaction of powering up a machine you assembled.
Have you built your own PC? Or are you thinking about it? Share your experiences or questions in the comments below!